Scroll down for English
Pagrindui (20 cm skersmens formai):
220 g sausainių
100 g nesūdyto sviesto, tirpinto
Pyragui:
200 g šviežių braškių, smulkintų, plus 100-200 g papildomai papuošimui
180 g cukraus (naudojau 150 g ir buvo pakankamai)
600 g kreminio sūrio (tokio kaip Philadelphia)
2 didelių kiaušinių
100 g maskarponės
20 g cukraus pudros
100 ml grietinėlės
Gaminame:
- Kepimo formą ištieskite kepimo popieriumi. Formą įsukite į foliją. Susmulkinkite sausainius.
- Sausainius berkite į dubenį, supilkite tirpintą sviestą, išmaišykite ir supilkite į pasiruoštą formą, išlyginkite. Dėkite į šaldytuvą 20-30 minučių.
- Tuo tarpu pasiruoškite braškes: sudėkite jas į nedidelį prikaistuvį, suberkite 80 g cukraus ir 30 ml vandens ir užvirkite. Sumažinę ugnį virkite kol skysčio nugaruos perpus, o braškės bus minkštos. Nuimkite nuo ugnies ir palikite atvėsti.
- Orkaitę įkaitinkite iki 170 C. Kreminį sūrį ir likusį cukrų gerai išplakite. Po vieną įmuškite kiaušinius, kaskart gerai išsukant masę. Sudėkite išvirtas braškes ir atsargiai išmaišykite.
- Supilkite sūrio masę į pasiruoštą formą. Dėkite į kepimo skardą ir pipilkite vandens (pilkite ne iki pat viršaus, iki liks 5cm nuo kepimo formos viršaus).
- Kepkite maždaug apie 40-60 minučių, arba kol pyrago šonai bus tvirti, tačiau viduriukas šiek tiek liuliuojantis. Atvėsinkite pyragą kepimo skardoje iki kambario temperatūros, tuomet dėkite į šaldytuvą 1-2 valandoms.
- Maskarponę išplakite su cukraus pudra iki purumo. Kitame inde išplakite grietinėlę iki standumo ir sumaišykite su maskarpone.
- Ištraukite atvėsintą pyragą ir paskleiskite makarponės kremą ant viršaus. Dėkite į šaldytuvą dar kelioms valandoms, o geriausiai palikite pernakt.
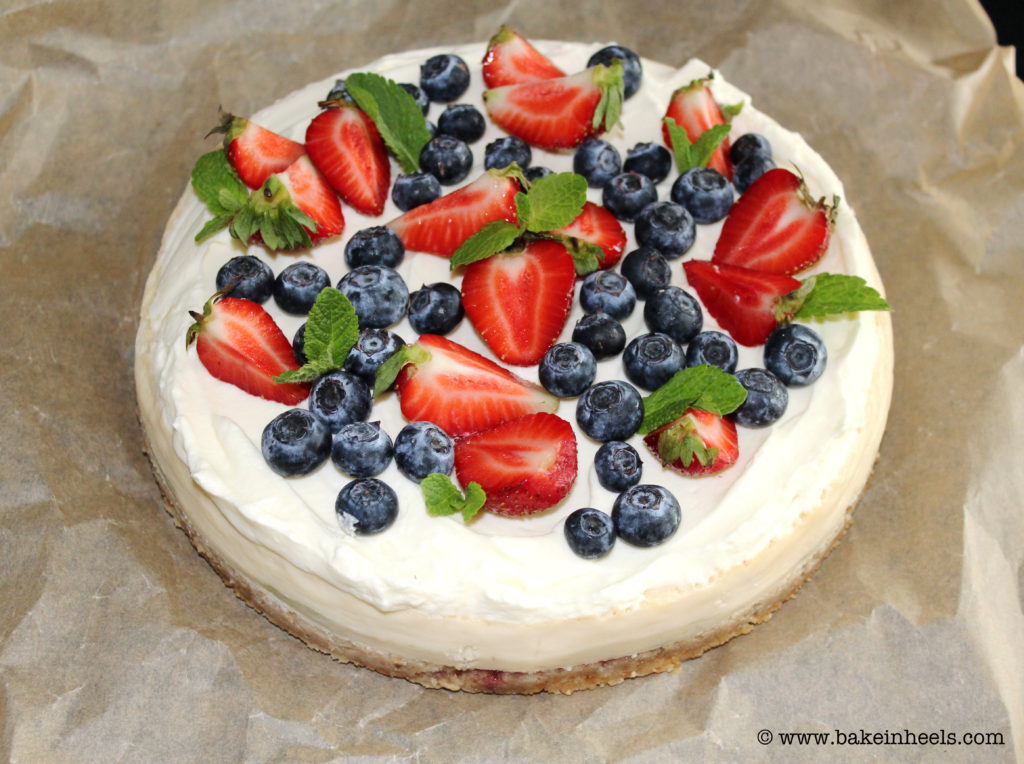
- Prieš patiekiant puoškite braškėmis ir kitomis uogomis.
Skanaus!
Šaltinis: The Hummingbird Bakery “Cake Days”, p. 121
Strawberries and Cream Cheesecake
For the base (20 cm diameter spring-form cake tin):
220 g digestive biscuits
100 g unsalted butter, melted
For the topping:
200 g fresh strawberries, hulled and chopped, plus 100-200 g extra strawberries, cut in half, to decorate
180 g caster sugar (used only 150 g and was enough)
600 g full-fat cream cheese (such as Philadelphia)
2 large eggs
100 g mascarpone cheese
20 g icing sugar
100 ml double cream
Instructions:
- Line the base of the tin with baking parchment. Wrap the cake tin in foil. Crush the biscuits into fine crumbs.
- Pour the biscuit crumbs into a bowl, add the melted butter and stir together, then tip into the lined tin and press into the base with the back of spoon. Place the tin in the fridge for 20-30 minutes to allow the base to set.
- Meanwhile, place the strawberries in a saucepan with 80 g of the sugar and 30 ml of water and bring to the boil. Reduce the heat and cook until the strawberries are soft and the liquid has reduced by half. Take off the hob and set aside until completely cold.
- Preheat the oven to 170 C. Prepare the topping: beat together the cream cheese and remaining sugar until smooth. Add the eggs one at a time, mixing well after each additional. Tip the cooked strawberries and stir in by hand, ensuring that they are evenly dispersed.
- Pour the mixture in the prepared tin. Place in a roasting tin and fill this with water up to about 5mm from the top of the cake tin.
- Bake for approximately 40-60 minutes or until firm on top with a very slight wobble in the centre. Allow the cheesecake to cool to room temperature still in the tin, then place in the fridge to chill and set for 1-2 hours.
- Beat the mascarpone and icing sugar until smooth. In a separate bowl, whip the double cream until soft peaks form, then fold it into the mascarpone.
- Remove the chilled cheesecake from the fridge and pour the mascarpone cream on top, spreading it evenly. Place back in the fridge for a few hours, or preferably overnight, to set.
- When you are ready to serve, carefully remove the cheesecake from the tin and top with fresh strawberries and other berries.
Enjoy!
Source: The Hummingbird Bakery “Cake Days”, p. 121


Labai skaniai atrodo. Ir aš panašius darau 😉
Ačiū! Cheesecake’ai man tuo ir patinka, kad variacijų pilna 😉